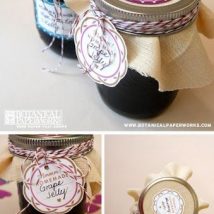
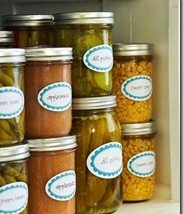
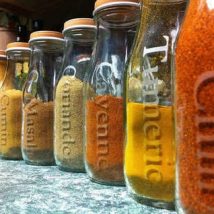
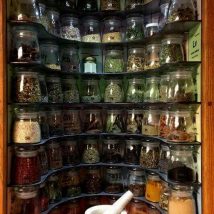
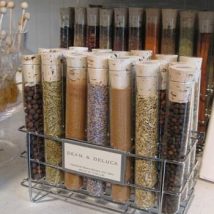
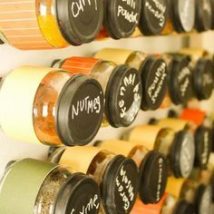
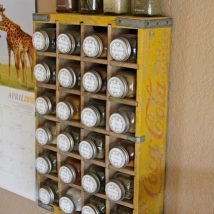
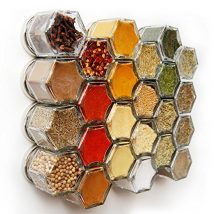
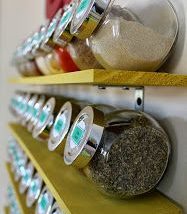
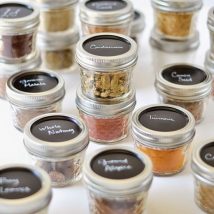
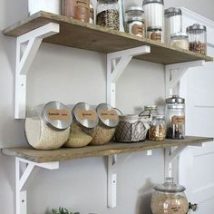
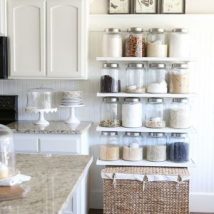
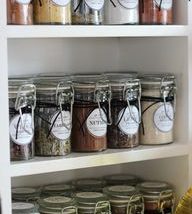
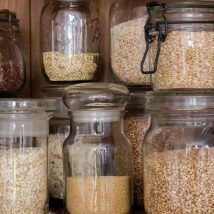
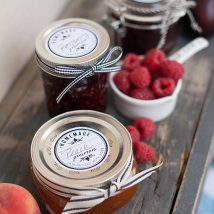
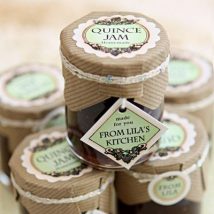
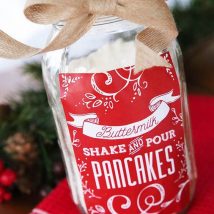
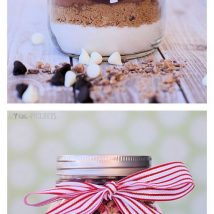
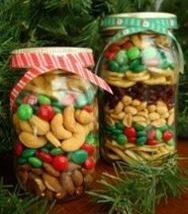
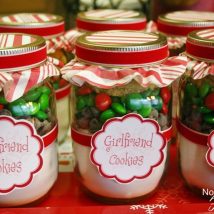
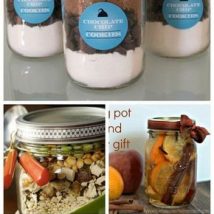
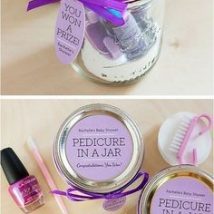
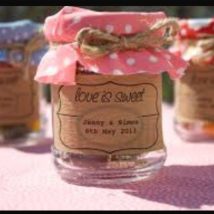
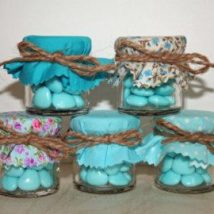
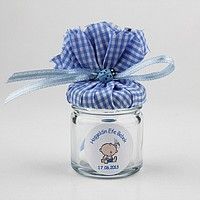
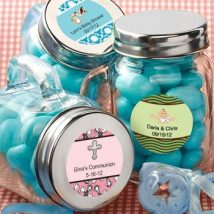
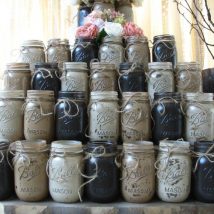
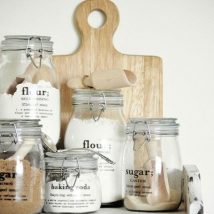
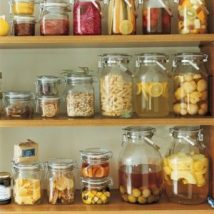
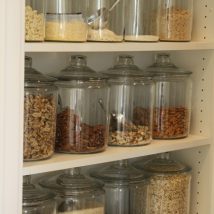
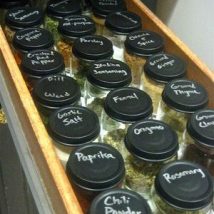
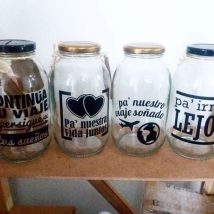
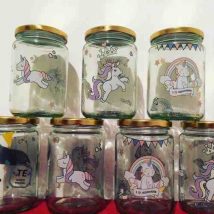
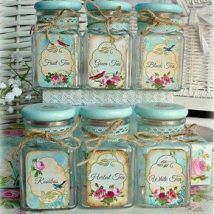
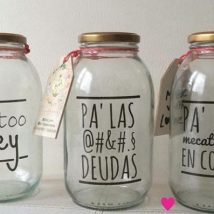
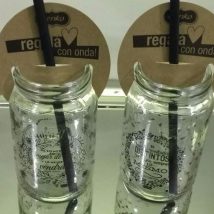
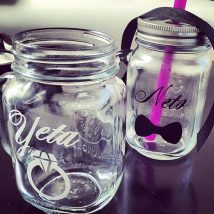
Mostly people don`t like storing different eatable items in bags or unsightly boxes that they come in. So what`s the solution, how can you get rid of those and store your daily used items in beautiful boxes. For this why don`t you go for reusable containers that can be utilized for storing different items. The good thing is that you can easily make DIY jar labels and put these on containers to find the item in it easily. You can make the customized jar labels easily by following simple procedure.
- First of all you need to print the label design on a paper sheet. You can select text, images or anything else that you want. Further you can also choose a black and white print or color print as per your choice.
- After printing the DIY jar label you have to cover the printed area with heavy duty packing tape.
- After applying tape, you should cut the printed area with scissors. Now put it down on a flat surface and exert pressure using a craft stick so that the ink make proper contact with tape.
- Fill a shallow bowl using warm water and the soak the label in it for an hour or the time till paper will easily be separated from tape.
- After removing the label from water you need to carefully detach the paper from tape. Place the tape onto a towel with its sticky side up and let it dry for five minutes. When it gets dry it will gain stickiness again.
- The last step of your DIY jar label is to place it any jar that you want. These jar labels will look really great on glass jars but you can also place these on plastic or wood containers too. So take on this project on this weekend and make as many jar labels as you want.
